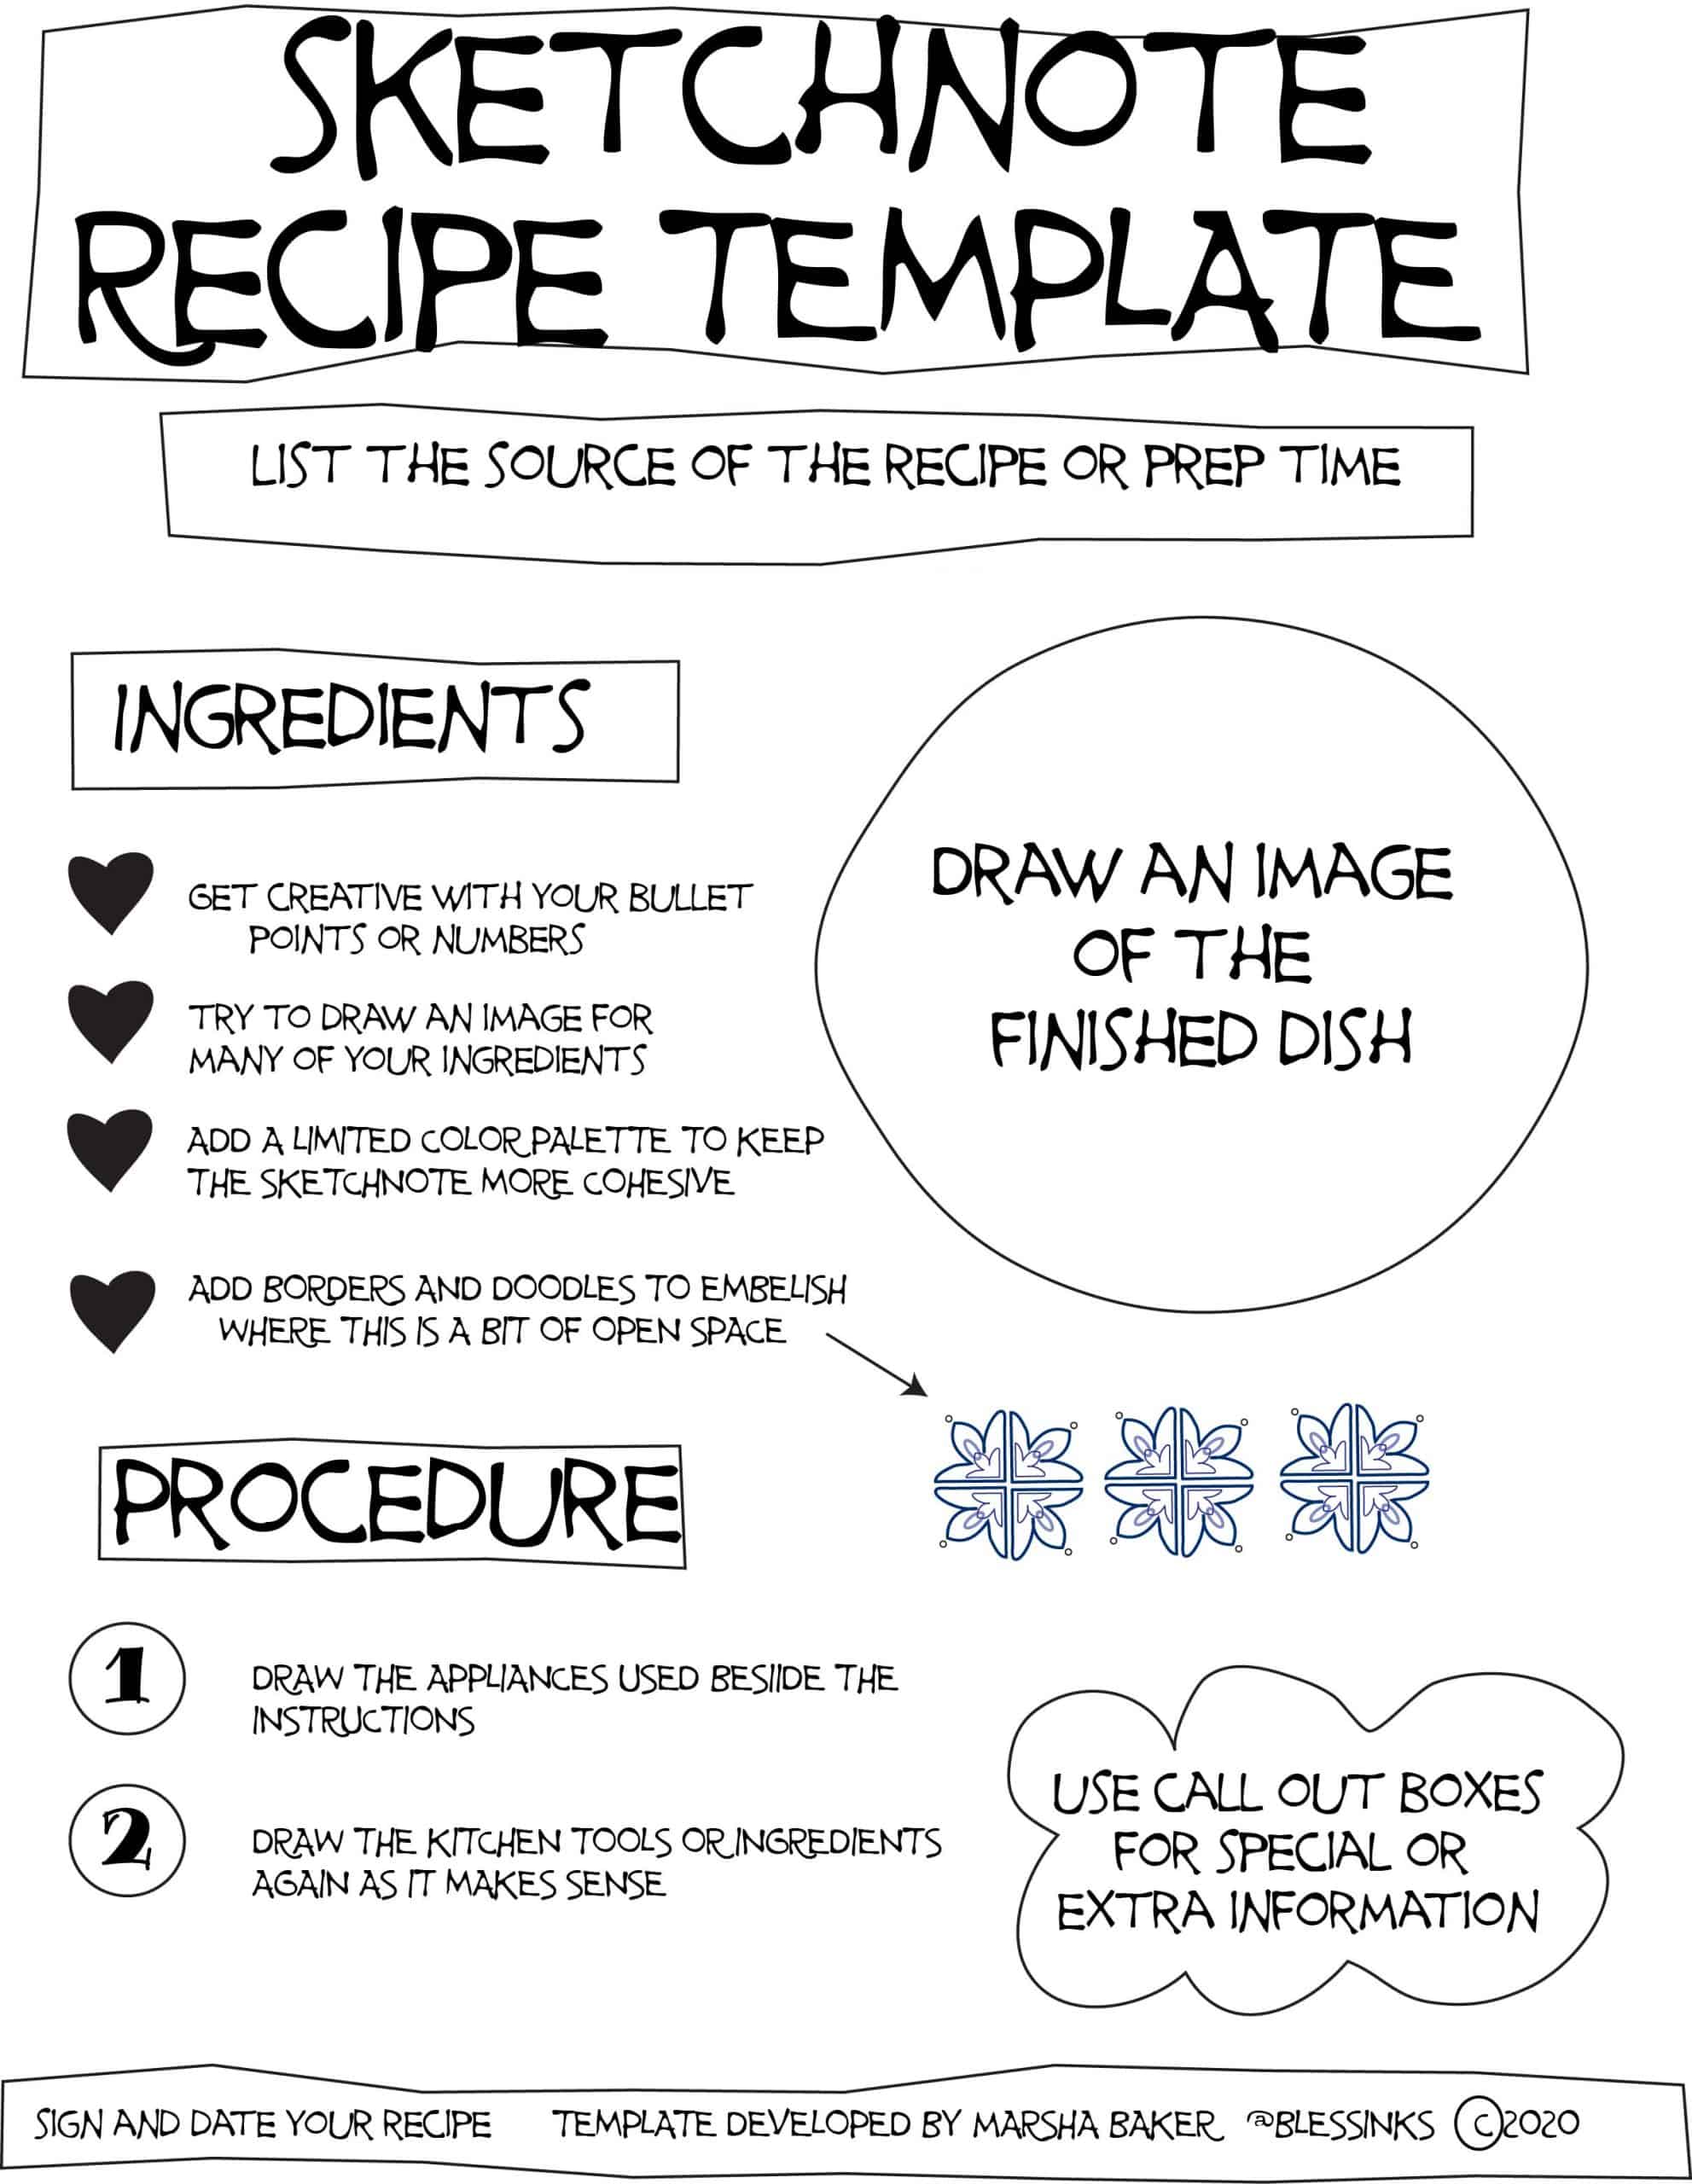
In this post we will learn how to choose a recipe to sketchnote and how to sketchnote a recipe.

Recipes naturally lend themselves to sketchnoting. The recipes generally contain ingredients, tools and appliances that can be sketchnoted. Sketchnoting a recipe can really bless someone or preserve a cherished family recipe. Another way to use them is to skethnote a recipe and make copies for people coming to an event like a bridal or baby shower. Sketchnoting a recipe is a great way to use your sketchnoting skills to bless someone else.
Here’s my list of items to consider when sketchnoting a recipe.
- Choose a recipe that has a limited list of ingredients. Our goal is to draw every ingredient, but if the list is too long it will be hard to draw each item.
- Choose a recipe that has a limited set of instructions. A recipe with a really long list of instructions might not fit on one page. Our goal is to keep the recipe to one page so it’s easy to copy and refer back to.
- Choose a recipe that can be easy to render in watercolor, markers or color pencils.

The Process
Practice
- Before you start, practice drawing the finished recipe and the ingredient list in your sketchbook. Practice makes better, so the more you practice the better your images will look.
Organize
- Organize the recipe into sections that makes it easy for the eye to organize. Create a large notable title, add a section for prep time, bake time and number of servings. Add a section for ingredients and another for the procedures. Optional areas could be a section for nutrition information and a section for miscellaneous facts that support your recipe. Be sure to leave room to draw a large picture of the dish.
- Layout these areas by drawing boxes on the page lightly in pencil.
Sketchnote
- Once you are satisfied that you have a good layout that is visually balanced, begin letting the recipe. Use a permanent pen and print the words rather than writing them out in script. This will make it easy to read. Draw guidelines in pencil if you have a lot of writing to do to give yourself a guide to keep your letters on a straight line.
- Start with the title and layout the letters. Here’s a post on how to center your text.
- Next letter the ingredients list. Draw an icon for as many items is possible on the ingredient list.
- Write out the instructions leaving room to draw images when it makes sense. Maybe you want to draw a mixing bowl, or a clock if the recipe calls for overnight processing.
- Complete any other writing you want to add.
- Draw the finished dish.
- Add color to the images.
Post
- Don’t forget to sign and date your sketchnote.
- Copy, post and share your new creation.
I’d love to hear your stories on how your shared a recipe or how you blessed someone with your awesome talents. Leave a comment or post your Summer recipe in the Sketchnote Boss Facebook group.
Till next week, when we go to the beach! We will be live July 17th at 2 pm in the Sketchnote Boss Facebook group. We will learn to draw beach things and we will doodle a verse.
Click here for more Summer Camp challenges
Blessings,
Marsha

Leave a Reply